back Annotation candidates stage
Reviewing the annotation candidates from object detection.
A MAIA job is finished when it proceeded from the object detection to the annotation candidates stage. In this stage you can review the annotation candidates that were generated in the previous stage and convert them to real annotations. Similar to the training proposals stage of novelty detection, this is done in two steps the selection of annotation candidates and the refinement of annotation candidates.
Selection of annotation candidates
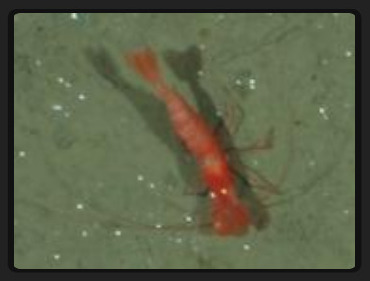
The selection of annotation candidates is very similar to the selection of training proposals of the novelty detection method. When you open the select annotation candidates tab in the sidebar, the annotation candidates are loaded and their image thumbnails are displayed in a regular grid. Please refer to the respective manual article to learn how to interact with the thumbnail grid.
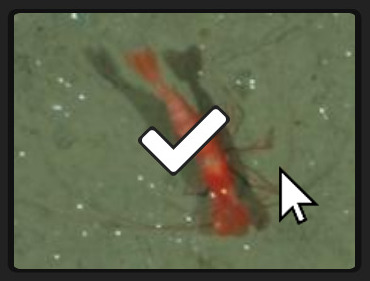
The single difference between the selection of training proposals and the selection of annotation candidates is that you have to attach labels to annotation candidates when you select them. Before you can select an annotation candidate, choose the label from the label trees in the sidebar that describes what you can see in the image thumbnail of the annotation candidate. With the label selected, click on the thumbnail of the annotation candidate to select and attach the label to it.
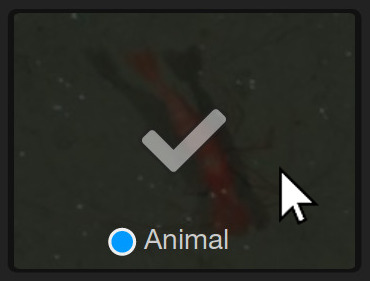
We recommend you to go multiple times through the process of selecting annotation candidates, each time with a different label. It is much faster to review all image thumbnails of the annotation candidates and look only for a single class of objects or image regions than to switch frequently between many different classes. Remember that you can bulk-select annotation candidates with the Shift key and sort by similarity with the button (described previously)!
When you are finished with the selection of annotation candidates, continue to the refinement step.
Refinement of annotation candidates
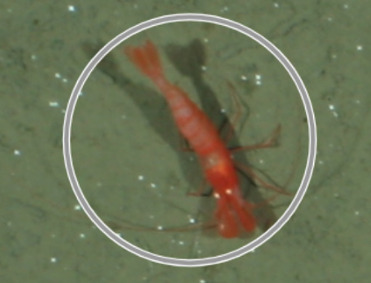
The refinement step for annotation candidates is also very similar to the refinement step for training proposals of the novelty detection method. You cycle through all selected annotation candidates and modify the circle of each annotation candidate to fit to the object or region that it should mark. Please refer to the respective manual article to learn how to interact with the refinement tool.
You can select annotation candidates in the refinement tool as well. First select a label from the sidebar, then click on the button at the bottom and then click on the semitransparent dashed circle of the annotation candidate that you want to select and to which you want to attach the label. If the label of the currently highlighted annotation candidate should be removed again you can detach it by pressing Delete or the button at the bottom.
Conversion of annotation candidates
When you are statisfied with the labels and circles of the selected annotation candidates, click on the button in the refine annotation candidates tab. This will convert all selected annotation candidates to real annotations.
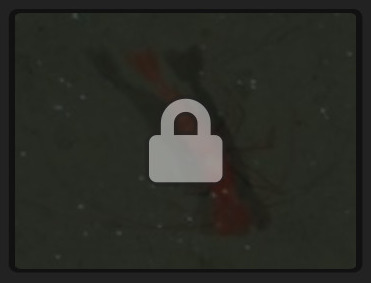
Converted annotation candidates can no longer be modified. They are displayed with a icon in the thumbnail grid and as gray circles in the refinement tool. However, you can repeat the selection, refinement and conversion of annotation candidates as long as you like, until all annotation candidates of interest have been converted.
The creation of new annotations concludes a MAIA job. You can either keep the MAIA job for reference or delete it with a click on in the job information tab in the sidebar. Please remember to cite the appropriate reference publications if you use MAIA for one of your studies.
Further reading
- An introduction to the Machine Learning Assisted Image Annotation method (MAIA).
- Using novelty detection to obtain training data.
- Using existing annotations to obtain training data.
- Using knowledge transfer to obtain training data.
- Reviewing the training proposals from novelty detection.
- The automatic object detection.